This guide covers adding attachments to new records via the WorkBench.
If you’re looking to upload attachments to existing records rather than creating new ones, use the Batch Attachment Uploader instead.
The WorkBench Attachments feature in Specify 7 allows you to view images alongside data entry, making it easier to transcribe information from specimen labels, herbarium sheets, and other visual sources. This functionality brings the popular Image Window feature from Specify 6 into Specify 7’s WorkBench, enhancing your data entry workflow.
Before you begin, make sure you have read and understand the Specify WorkBench documentation!
Importing Attachments
For more information about what attachments are, please read:
There are two ways to work with attachments in the WorkBench:
- Create a new data set with attachments - Import images first, then add data to the corresponding rows
- Add attachments to existing data sets - This feature is planned for future development
Creating a New Data Set with Attachments
To create a new WorkBench data set based on attachments:
-
Click on
 WorkBench in the navigation bar
Click the Import Attachments button in the dialog
-
Select multiple images in the file chooser dialog (they will be imported in the order selected)
-
Click Import Attachments
A progress bar will appear indicating how far along the upload is for the attachments. Behind the scenes, these attachments are being linked directly to the WorkBench data set temporarily until it has been uploaded.
Once these files have been uploaded, they are added to the asset server directory and are no longer reliant on the locally stored file on your system.
-
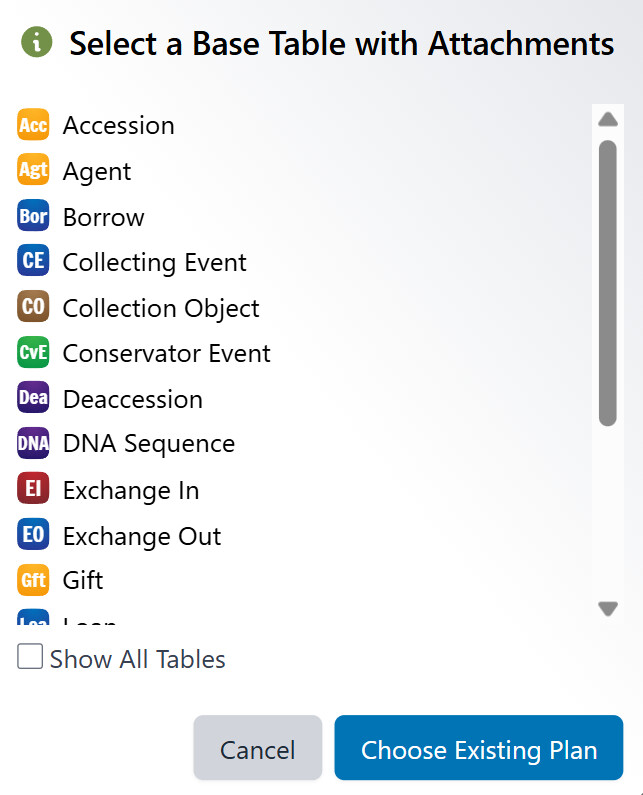
Choose one of the following (in both cases, only tables that support attachments will be shown):
- Select a base table
- Choose an existing mapping plan to apply to your new data set
[!note]
When creating a mapping, an ‘Attachments’ column will be automatically added upon save. This column will contain the attachment filename as its value.The
IsPublicfield for attachments will be set toTrueby default. -
Create a data set upload plan following the standard WorkBench process.
If the Attachments panel is open (it is by default, but can be open and collapsed by clicking on the button of the same name), you will see a thumbnail of the attachment linked to that row.
Clicking on the thumbnail will open the Attachment Window.
Selecting a new row will automatically change the attachment displayed to match to aid in transcription.
-
Validate the data set and correct any errors


Using the Attachment Window
After creating a data set with attachments, you’ll see:
- An ‘Attachments’ column in the grid displaying the filename of each attachment
- An Attachments button at the top of the WorkBench
The Attachment Window provides several viewing options:
Viewing Attachments While Editing
- Click the Attachments button to open the attachment panel on the right side
- The panel will always show the attachment for your currently selected row
- As you navigate between rows in the grid, the attachment preview automatically updates
Enhanced Image Viewing
For a better view of your attachments:
-
Click on the image in the attachment panel to open it in a dialog
-
Use the zoom controls to get a closer look at details
-
Click Detach Window in the top right corner to open the image in a separate window that can be:
- Moved anywhere on your screen
- Positioned next to your data entry area
- Resized as needed
Resizing the Attachment Panel
You can adjust the width of the attachment panel by:
-
Hovering over the divider between the grid and the attachment panel
-
Clicking and dragging when the cursor changes to a resize handle
-
Releasing when the panel is the desired width
This is especially useful when working with high-resolution images or on smaller screens.
Uploading Records with Attachments
When you’re ready to upload your data:
- Complete your data entry in the grid
- Click the Upload button
- Follow the standard WorkBench upload process
- The attachments will automatically be linked to the newly created records!
Roll Back Behavior
-
When you roll back a WorkBench data set, the records created during the upload will be removed, but the attachments remain in the system, linked to the WorkBench data set itself.
-
If you then delete the WorkBench data set, the associated attachments would then be removed from the asset server.