This guide provides a step-by-step walkthrough on how to set up SSO in Specify.
Specify supports integration with any OpenID Connect–compliant Identity Provider (IdP). Common providers include Google Workspace, Microsoft Azure AD, Okta, Auth0, and campus or institutional IdPs.
Benefits of SSO Integration
-
Reduced Login Fatigue
Users authenticate once per day with a single set of credentials, improving user experience. -
Enhanced Security
Centralizing authentication decreases the number of attack surfaces and encourages stronger password practices.
1. Obtain Client Credentials
An IT administrator must register Specify 7 as an application with each IdP to obtain:
- Client ID
- Client Secret
Each IdP’s developer portal provides these credentials when you configure a new OAuth/OpenID Connect application.
2. Configure the Specify 7 Server
Edit the file specify_settings.py on your Specify 7 server. Under OAUTH_LOGIN_PROVIDERS, add one or more providers:
OAUTH_LOGIN_PROVIDERS = {
    'google': {
        'title': "Google",
        'client_id': "GOOGLE_CLIENT_ID",
        'client_secret': "GOOGLE_CLIENT_SECRET",
        'config': "https://accounts.google.com",
        'scope': "openid email profile",
    },
    'azure': {
        'title': "Azure AD",
        'client_id': "AZURE_CLIENT_ID",
        'client_secret': "AZURE_CLIENT_SECRET",
        'config': "https://login.microsoftonline.com/{tenant}/v2.0",
        'scope': "openid email profile",
    },
    'okta': {
        'title': "Okta",
        'client_id': "OKTA_CLIENT_ID",
        'client_secret': "OKTA_CLIENT_SECRET",
        'config': "https://{yourOktaDomain}/oauth2/default",
        'scope': "openid email profile",
    },
    # Add custom or other providers here
}
• Replace placeholder values (GOOGLE_CLIENT_ID, etc.) with the credentials from each provider.
• For custom or institutional IdPs, set config to the issuer’s base URL (the OIDC discovery endpoint is typically at /.well-known/openid-configuration).
For the latest examples, refer to our GitHub repo:
3. Generate and Send Invitation Links
Collection administrators use the Security and Accounts panel:
-
Navigate to the correct Specify User account.
-
Select Create Invite Link and send it to the user.


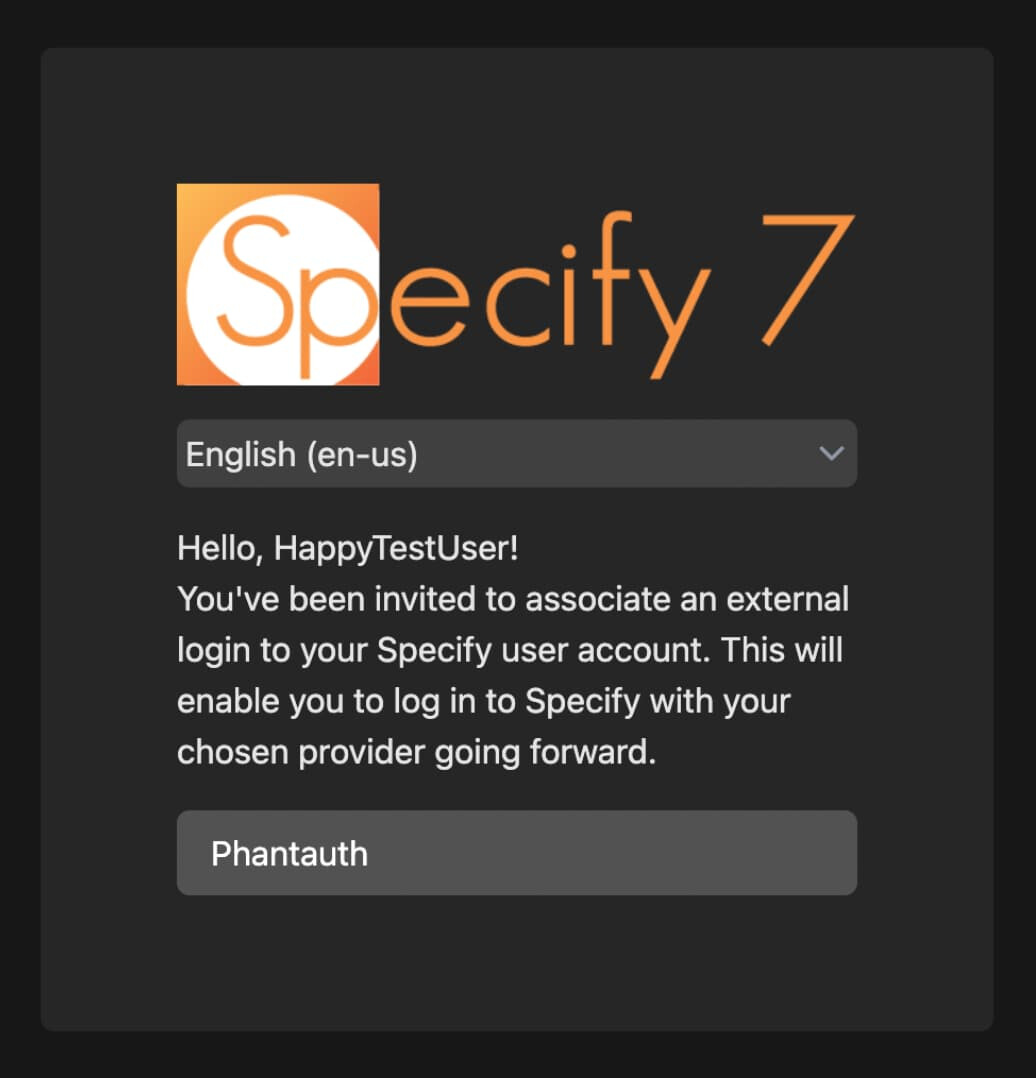
4. User Association of SSO Account
When the invitee clicks the link:
- Choose their organization’s IdP button (e.g., Google, Azure AD, Okta).
- Complete the authentication flow on the IdP’s page.
- Their IdP identity will be linked to their Specify 7 account.
5. End-User Login Experience
The Specify 7 login screen will display:
- Standard username/password fields
- SSO buttons for each configured provider

Additional Support
If you’re using Specify Cloud, contact our support team for assistance with SSO setup.